









Tired of Annoying Ads? Here’s How to Block Them on Android Without Installing Extra Apps
We all understand that advertisements are the engine behind the free content we enjoy daily. However, there is a fine line between a banner ad and an intrusive, user-hostile experience. When you are being bombarded by full-screen pop-ups in a game or struggling to navigate a website that is 80% ads, the experience stops being functional.
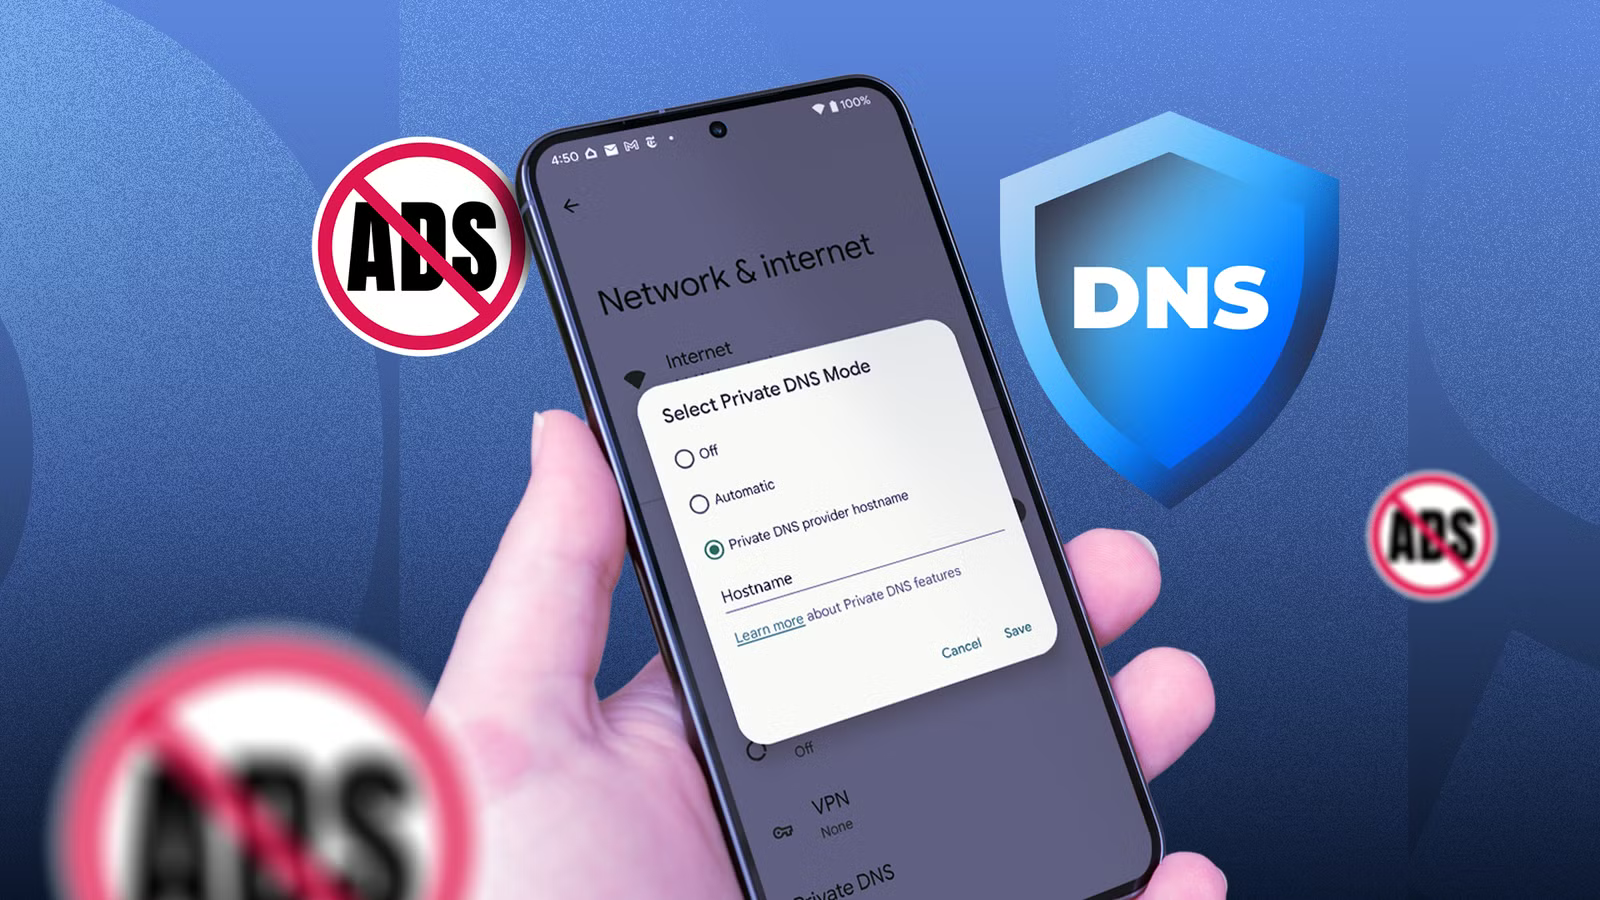
While many users turn to specialized browsers or resource-heavy background applications to combat this, there is a far more elegant solution. Android includes a native feature called Private DNS that allows you to route your device’s traffic through a filter that blocks ad servers before they ever reach your screen.
Choosing the Right Ad-Blocking Provider
Before you tweak your settings, you need to choose the right DNS service. Not all providers are built the same, and your choice depends on whether you prefer simplicity or granular control.
- For the "Set it and forget it" crowd: AdGuard DNS is your best bet. It requires minimal configuration and works reliably right out of the box with no query limits.
- For the power user: NextDNS is the superior choice. It offers extensive customization, allowing you to curate your own blocklists and filter exactly what you want. They offer a generous free tier of up to 300,000 queries per month.
How to Enable Private DNS on Your Android Device
Unlike traditional ad-blocking apps that act like a VPN and drain your battery, Private DNS operates at the network layer, making it significantly more efficient.
- Open your Settings app.
- Navigate to Network & internet > Private DNS.
- Select the Private DNS provider hostname option.
- Enter the hostname for your chosen service:
- For AdGuard: Enter
dns.adguard-dns.com - For NextDNS: Enter your unique hostname (formatted as
[your-ID].dns.nextdns.io) provided via your account dashboard.
- For AdGuard: Enter
- Tap Save.
Once configured, your device will immediately begin filtering out ad traffic. If you are using NextDNS, you can continue to manage your blocklists and view traffic statistics via their website or app.
What to Do If a Site Breaks
Occasionally, an overly aggressive blocklist might prevent a website or specific app feature from loading correctly. If you find yourself in this situation, you don’t need to disable your blocker permanently.
Simply head back to your Private DNS settings and switch the configuration back to Automatic. Once you have finished using the problematic site or app, you can flip it back to your custom host to resume ad-free browsing.
Why This Is the Superior Method
The beauty of using Private DNS lies in its simplicity. Because it is a native Android feature, it doesn’t require a constant, heavy-duty background service, saving you both battery life and system resources.
It is worth noting that this method has its limits—for example, it will not bypass server-side advertisements like those found on the YouTube app, where you would still require a Premium subscription for a clean experience. However, for the vast majority of your daily web browsing and app usage, this simple configuration provides a cleaner, faster, and more private mobile experience.