









Mastering the Shadows: 8 Essential Steps for a Perfect Start in The Blood of Dawnwalker
Stepping into the expansive, dark world of The Blood of Dawnwalker can be a daunting experience. Once the narrative prologue concludes, the game drops you into a vast map filled with lethal enemies, complex skill trees, and time-sensitive quests. To avoid being overwhelmed or walking into a high-level area unprepared, follow these eight critical steps to ensure your journey of revenge begins on the right foot.
1. Prioritize the Prologue Herbs
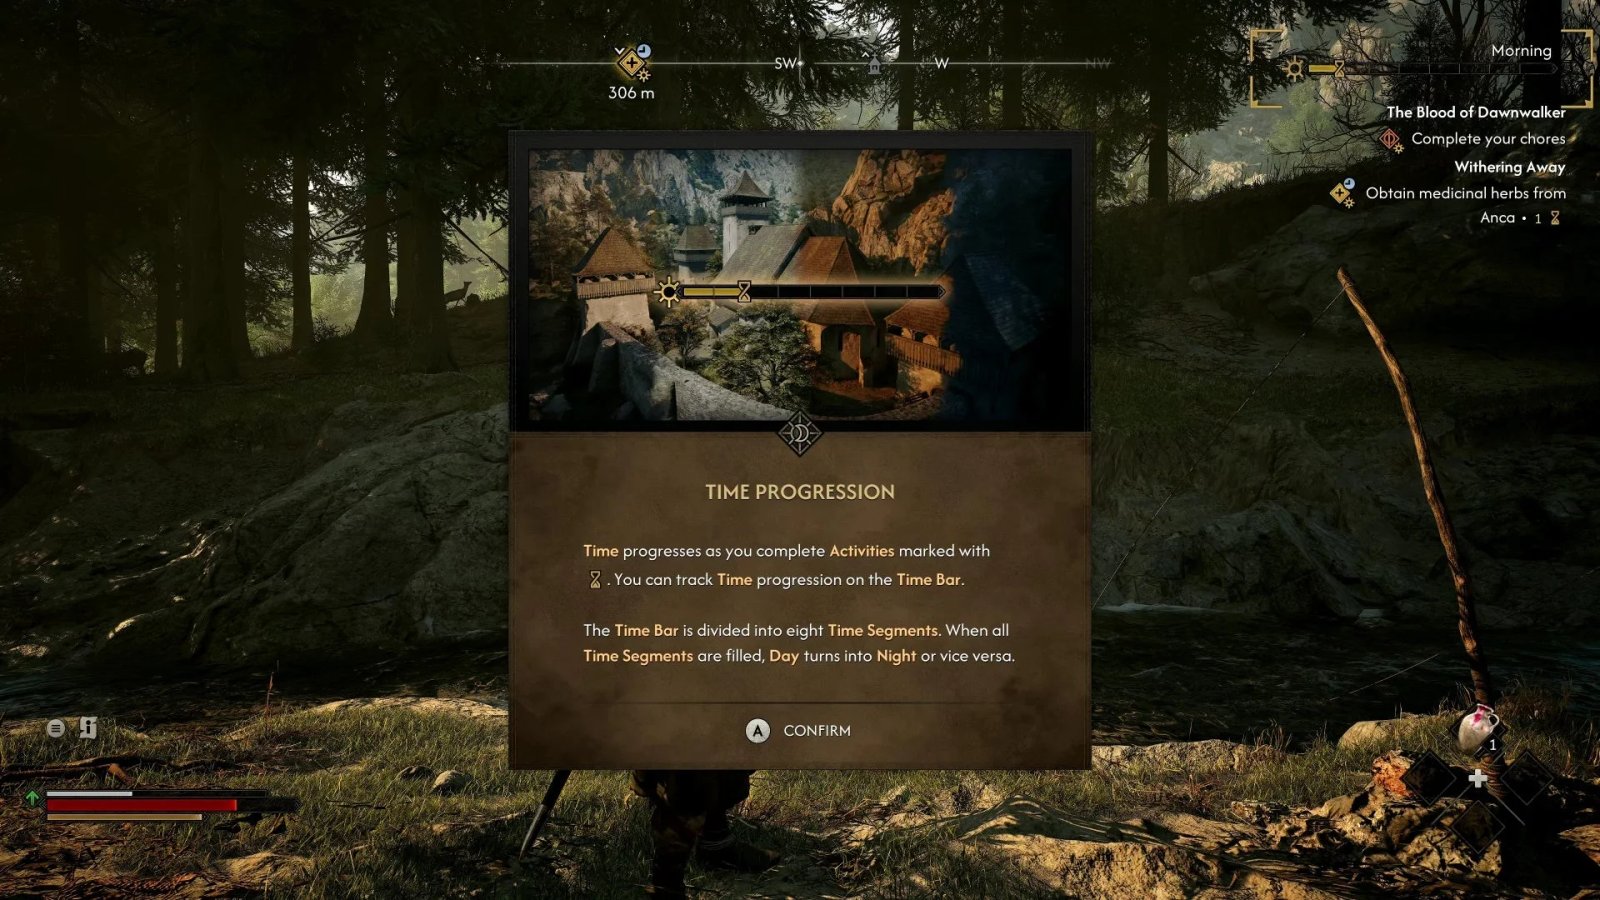
The opening hours are designed to teach you about time management—a crucial mechanic throughout the game. When Coen’s father tasks you with gathering medicinal herbs for his mother, you must prioritize this objective. Look for the clock icon next to your quest marker; it indicates an expiration time. Ignore distractions, head straight to Anca’s house, and remember: when brewing the medicine, use hot water and three scoops to ensure the best outcome.
2. Bolster Your Core Stats
As you begin to level up, focus on your foundation. Whether you are leaning into Swordmastery, Witchcraft, or Vampirism, early points should go toward boosting your basic attack, defense, and stamina. Keep in mind that some advanced abilities require specific manuals or resources like Corruption, so plan your skill point distribution carefully.
3. Manage and Increase Corruption
Corruption is the gatekeeper to your most powerful vampiric abilities. You can monitor your Corruption level via the fang icon next to your health bar at night. It builds whenever you use your “Voracious Bite” on enemies. To maximize this, invest in the “Hastened Corruption” skill early, which allows you to fuel your dark powers more efficiently.
4. Unlock Essential Mobility Skills
In The Blood of Dawnwalker, there are no mounts. Your survival depends on movement speed. Once you earn your first point of Corruption, immediately unlock Shapeshift. This allows you to transform into a wolf by double-tapping the sprint button. During the day, seek out the Mercurial Fervor ability in the Witchcraft tree to achieve a similar burst of speed, eventually allowing you to traverse the map without depleting your stamina.
5. Craft Your Healing Ointments
Do not rely on food alone to keep you alive. You start the game with the recipe for a Minor Healing Ointment—all you need is a Canteen of Water and two Ribwart Plantains. Scour every barrel, crate, and patch of grass you find. Keeping a steady supply of these ointments is the difference between a successful skirmish and a respawn screen.
6. Scale the Towers
Vantage points are vital for scouting. Look for landmarks like the church in Laslea Glen or the Briar Sloughs Watchtower. Note that these are best accessed at night, as you will need your supernatural Shadow Step and Planeshift abilities to navigate the vertical terrain. Reaching the summits will reveal points of interest on your map, providing a clearer roadmap for your next objectives.
7. Embark on a Pilgrimage for Power
Early on, seek out the climbing trails leading to the rune carvings near the river. Defeating the “Ravenous Bear” waiting at these sites grants you access to the Ravenous Flock—a potent area-of-effect spell. While it comes with a blood price to your health, its ability to stun groups of enemies is invaluable.
8. Follow the Will-o-the-Wisp and Rescue the Miller
Exploration pays off. Keep an eye out for floating Will-o-the-Wisps; following them consistently leads to rare treasure, such as the Knightly Greatsword. Once you’ve secured better gear, head to Mert’s Mill. Rescuing the miller from local soldiers is not just a side quest—it is your first step toward destabilizing your primary antagonist, Ambrus.
By clearing out enemy camps and disrupting shipments, you will fill Ambrus’s anger meter, paving the way for the eventual confrontation that lies at the heart of your quest. For a deeper breakdown on how to navigate these challenges, check out our full Things to Do First guide.