








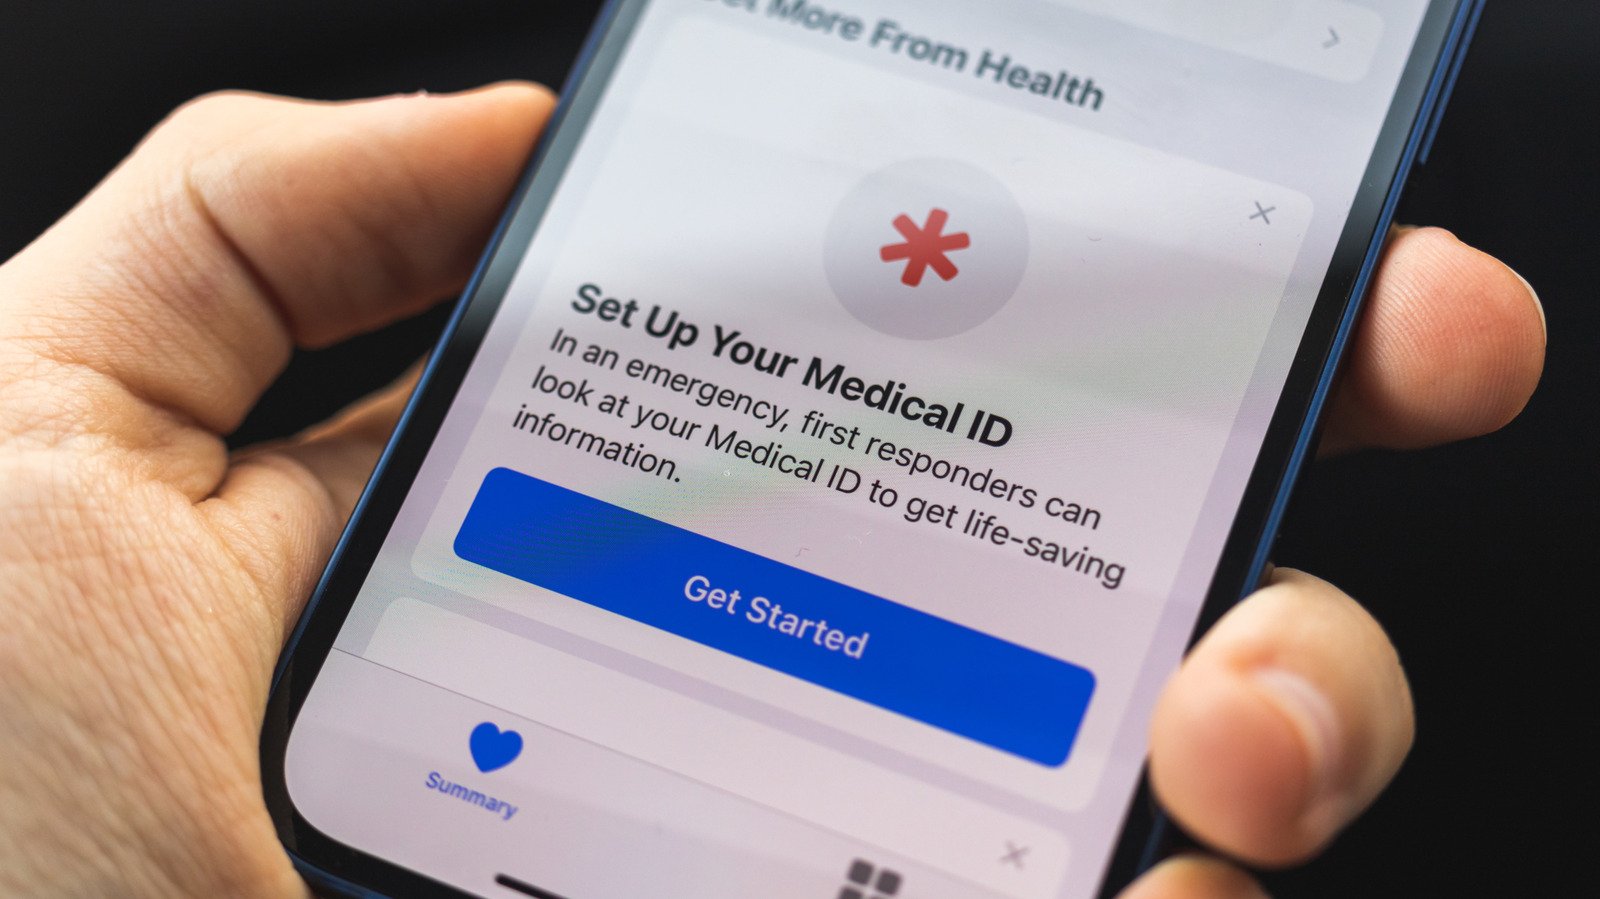
Your iPhone is more than just a communication device; it’s a powerful tool with embedded features designed to protect you in critical situations. While configuring these safety measures might not be the most exciting aspect of owning an iPhone, it’s undeniably one of the most important. Proactively setting up your Medical ID and emergency contacts can dramatically improve outcomes during an emergency. These functionalities, integrated into iOS since 2014, are now widely recognized by medical professionals, potentially replacing the need for physical emergency information cards. Taking a few moments to configure these settings now could genuinely save your life later. Furthermore, it’s crucial to familiarize yourself with the shortcuts for activating these features, ensuring you’re prepared for any scenario. Even if you’ve previously set up your emergency profile, it’s a good practice to review and update the details regularly, as circumstances and health information can change.
To establish or modify your Medical ID on an iPhone, simply launch the Health application. Tap on your profile picture located in the top-right corner, then select Medical ID from the subsequent list. You’ll encounter two crucial sliders controlling the visibility of your personal information. Enabling Show When Locked allows anyone to access your details by tapping Emergency > Medical ID directly from your iPhone’s passcode screen. The Share During Emergency Call feature, as its name suggests, automatically provides vital information to 911 dispatchers during an emergency call, eliminating the need for you to verbally relay these details under duress. Both of these options should be activated, as keeping this information locked within your device defeats its primary purpose. As you navigate through the Medical ID section, you’ll find fields for essential medical data such as your age, current medications, known allergies, and existing health conditions. You can also input your height, weight, and blood type under Additional Information, and utilize the Notes section for any other pertinent health concerns that don’t fit into predefined categories. This comprehensive data empowers paramedics with critical insights, enabling them to provide more accurate and effective medical assistance.
Within the same Medical ID section, you’ll find the Emergency Contacts list, where you can designate individuals to be notified in a crisis. Tapping Add Emergency Contact allows you to select from your existing contacts and assign a relationship label. It is highly advisable to add multiple contacts, ensuring that someone can be reached even if a primary contact is unavailable. This list can be updated at any time. These designated contacts serve two vital functions. Firstly, alongside your Medical ID information, this list is accessible to medical personnel or anyone who finds your phone, allowing them to inform your loved ones of your situation. Secondly, these individuals will receive alerts and your location whenever you utilize the Emergency SOS feature. This differs from your phone being stuck in SOS mode with no service. To review and customize your Emergency SOS options, navigate to Settings and select Emergency SOS.
By default, Emergency SOS is activated by holding down the Side button and either of the Volume buttons simultaneously. Continue holding these buttons for a few seconds longer than you would to power off your device. This action initiates a countdown accompanied by a loud alarm, signaling that a call to 911 is imminent. Enabling Call with 5 Button Presses provides an alternative shortcut, allowing you to activate Emergency SOS by rapidly pressing the Side button multiple times. While this gesture is easier to perform, it also carries a higher risk of accidental activation. The audible alarm serves as a crucial warning, preventing inadvertent calls to 911. However, if you enable Call Quietly, this audible alert is disabled, making it easier to miss an accidental activation. Should you initiate a call by mistake, it is always best to remain on the line and calmly explain the situation to the dispatcher. Even with both of these specific options disabled, you can still access the Emergency Call slider found on your phone’s power-off screen. Additionally, the Call After Severe Crash feature can automatically summon help if you’re involved in an accident and unable to make a call yourself. It’s important to note that Emergency SOS is not accessible via the Action Button (located on the left side, above the volume buttons) on newer iPhone models.
Beyond the core Medical ID and Emergency SOS features, other vital tools enhance your iPhone’s emergency capabilities. While not directly grouped with Medical ID, Emergency Bypass is a related feature worth enabling. This allows the ringtone or text tone for specific contacts to play, even if your phone is silenced or in a Focus mode. This should be used judiciously for individuals you trust to only contact you in genuine emergencies, as it could otherwise be disruptive. To activate Emergency Bypass, open the Contacts app, select a contact, tap Edit on their profile page, and then choose either Ringtone or Text Tone. Enable Emergency Bypass for one or both as needed. Unfortunately, there is no option to enable this for all emergency contacts simultaneously. While on this page, ensure you utilize the Add to Emergency Contacts option at the bottom for any individuals you may have overlooked earlier. In some regions of the United States, texting 911 is an available alternative. You can check the availability in your area through services like Text to 911. While making a voice call is generally preferable for providing comprehensive information, texting can be a lifesaver in situations where speaking would put you at risk or if you are unable to speak. Furthermore, in certain localities, 911 operators have the capability to request access to a live video feed from your phone’s camera, offering them a real-time view of the situation. Finally, for owners of iPhone 14 models and newer, the ability to send emergency messages via satellite or make calls when cellular service is unavailable provides an unparalleled level of safety in remote areas. To test this feature, swipe down from the top-right of your screen to open Control Center, tap the connection toggles cluster, and select Satellite.