









The Return of an Icon
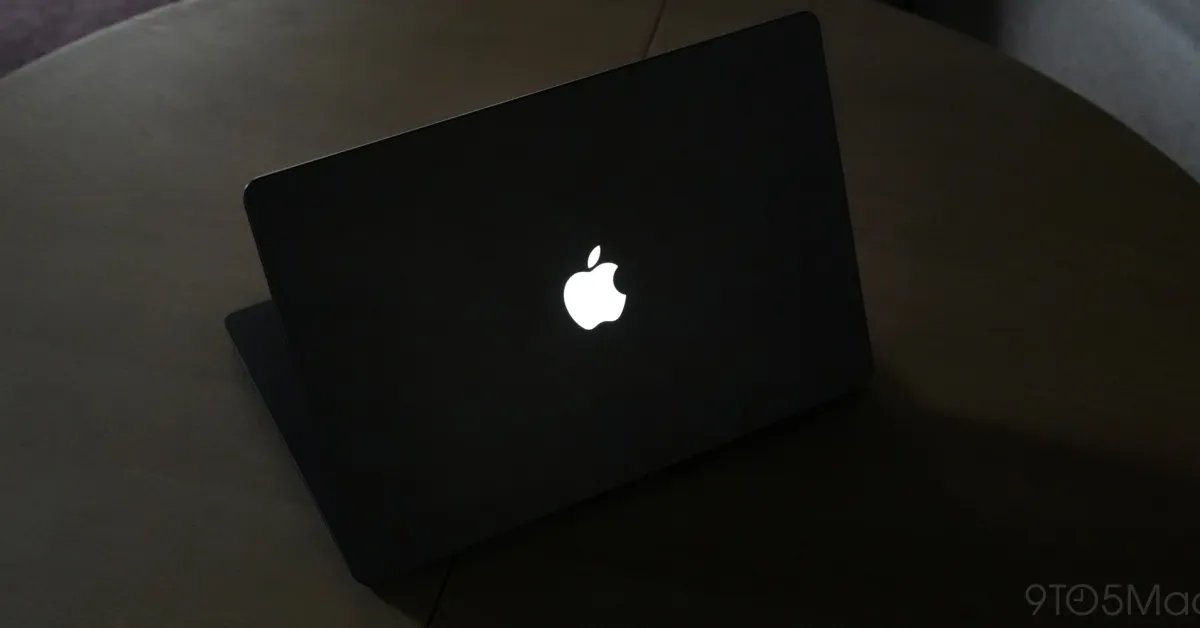
The recent unveiling of the latest MacBook Pro has reignited a conversation that began nearly a decade ago regarding the iconic glowing Apple logo. For many longtime users, the illuminated lid represented a signature aesthetic of the Apple laptop lineup. Following the transition to polished, static metal logos in 2016, the return of the backlit identifier on the new MacBook Pro with PROLED XDR display has been met with significant enthusiasm. However, Apple acknowledges that aesthetic preferences vary, providing a sophisticated software-based solution for users who prefer a more subdued appearance.
The technical implementation of this illumination is fundamentally different from the legacy models of the past. Older versions of the MacBook Pro relied on the display’s backlight to illuminate the logo, creating a mechanical tether between the screen’s light source and the exterior emblem. Because the new PROLED XDR display utilizes OLED technology—which is self-emissive and does not require a traditional backlight—Apple engineers had to architect an entirely independent lighting system for the lid.
Advanced Hardware Integration
Beneath the surface, the illuminated logo functions as a precision-calibrated component. It features a 25kHz pulse-width modulation (PWM) controller, ensuring that the light output remains stable and flicker-free to the human eye. This hardware is deeply integrated into the macOS power and display management systems. Unlike the simple light-leaking designs of yesteryear, this system is capable of granular adjustments.
The brightness of the logo is governed by CoreBrightness, a macOS framework that synthesizes data from multiple inputs. It tracks the primary display’s current brightness level while simultaneously pulling environmental data from the computer’s ambient light sensors. This dual-input logic ensures that the logo maintains a consistent visual intensity that is appropriate for the environment. For instance, in a low-light setting, the logo will automatically dim to prevent glare, whereas it will brighten in daylight to ensure visibility. Because the logo is an independent electronic component, the system even adjusts output based on the specific color of the MacBook Pro enclosure, maintaining visual consistency across the Space Black, Silver, and custom finishes.
Customizing the Experience
While the default behavior is designed to be seamless, Apple has provided an official mechanism for users to customize or entirely disable the illumination. This accessibility ensures that professionals working in light-sensitive environments—such as film sets, recording studios, or dark photography suites—can neutralize the light if it becomes a distraction.
For users who wish to deactivate the glow, the process involves a command-line interface through the Terminal application. By executing a specific instruction, users can set the “LEBacklightMode” to zero within the CoreBrightness configuration. This command effectively cuts the power to the logo’s LED array without affecting the functionality of the primary display. Because this change is managed via the macOS system defaults, it acts as a persistent setting that remains in effect until manually reversed.
Command-Line Operations
To disable the logo, a user must open the Terminal and enter:
sudo defaults write com.apple.CoreBrightness LEBacklightMode -int 0
Upon entering the administrator password, the system writes the preference to the hardware controller, instantly extinguishing the light. To revert to the factory default, the user must run the following command:
sudo defaults delete com.apple.CoreBrightness LEBacklightMode
It is important to note that this is a system-level override. If a user performs a clean installation of macOS, the preference file is reset to factory defaults, and the illuminated logo will re-enable itself automatically. This ensures that the hardware always returns to its intended state following a major software refresh, providing a safety net for users who might forget which configuration they previously applied.
Broader Implications for Hardware Design
The integration of a user-controllable light source on the exterior of a laptop signals a shift in how hardware manufacturers approach aesthetic customization. Rather than forcing a singular design language on the end user, Apple has treated the logo as a software-defined component. This transition from purely mechanical design to software-managed hardware allows for more dynamic device behavior.
Furthermore, this development highlights the maturity of the PROLED XDR display technology. By solving the challenge of illuminating a logo without a traditional display backlight, Apple has demonstrated that high-fidelity, self-emissive display panels can still accommodate the design heritage that made previous models popular. The ability to calibrate the logo brightness independently of the screen brightness also suggests that future updates could potentially allow for more complex user control, such as adjusting the intensity levels beyond the current automatic settings.
As professionals continue to push the boundaries of what these portable machines can achieve, the integration of controlled lighting serves as a bridge between the classic design identity of the past and the advanced technical capabilities of the future. The inclusion of clear, official documentation on how to manage this feature reflects Apple’s commitment to providing both the visual flair that enthusiasts desire and the granular control that professional workflows demand.
Disclaimer: This content is auto-generated for informational purposes only.
Source: Read Original News